
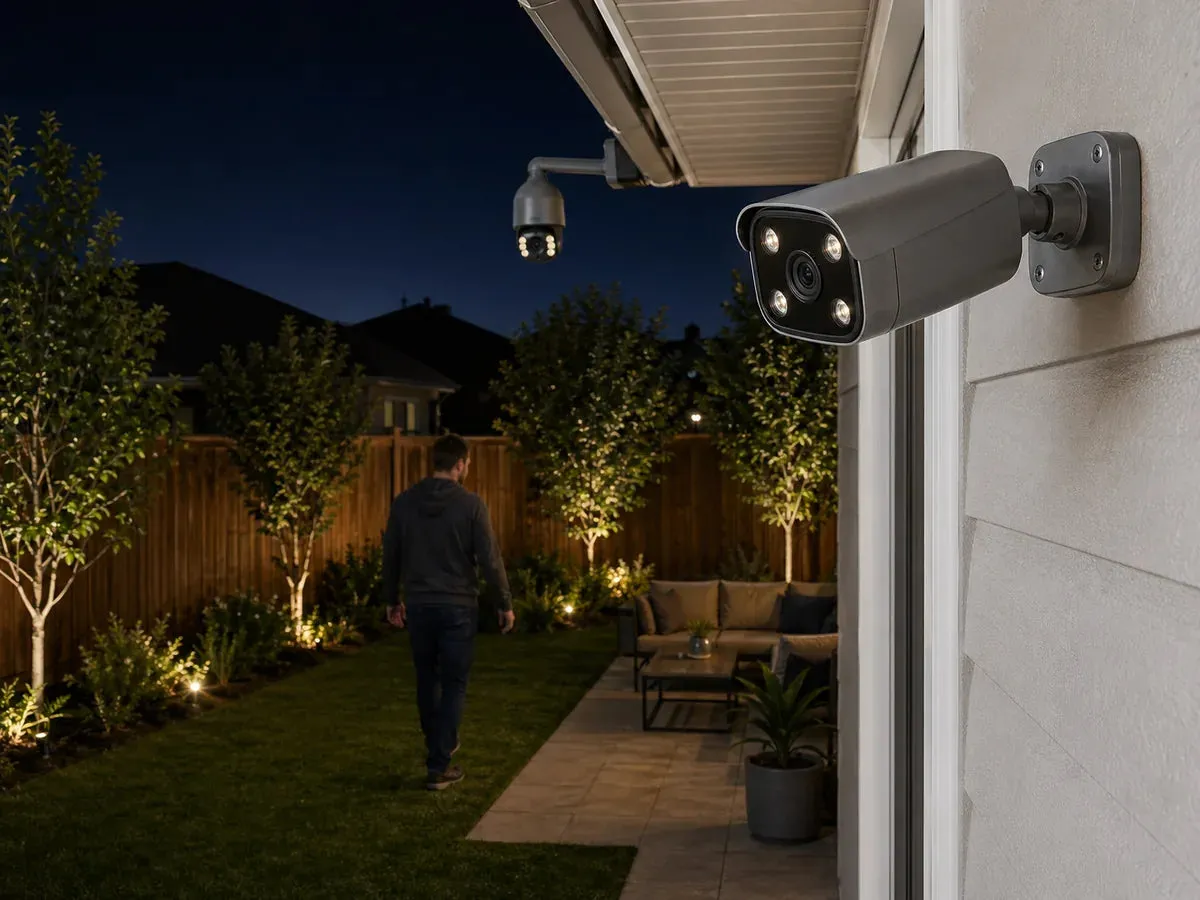
Colour footage can help describe clothing and vehicles, but a bright still image does not show how well the camera records moving subjects. Check the available light, whether added lighting is acceptable, and the detail in a recorded walk-through at the intended position.
Keep a comparable night sample record
| Record | Why it matters |
|---|---|
| Model and settings | Firmware, stream, exposure, frame rate and lighting mode make comparisons repeatable. |
| Scene | Mounting height, subject distance, direction and active lights describe the conditions. |
| Saved evidence | Original moving clip and export show blur, glare and retained detail. |
Use this record to compare your chosen camera at the intended site and distance.
Identify where the visible light comes from
Colour recording uses visible light. This may come from a streetlight, building lighting or the camera’s own white light. A low-light sensor does not remove the need for light. In complete darkness, compare added lighting or a suitable monochrome IR mode.
Check whether lights remain on for the hours you need. If lighting switches on with an event, review the recording before, during and after the change. Consider neighbours, shared spaces and whether the lighting is acceptable at that position.
Compare movement as well as brightness
A longer exposure can brighten a dim view while blurring a moving subject. Image noise, glare and backlighting can also hide useful detail. Check the actual recording at the distance and angle needed; colour alone does not establish identification quality.
A yard overview and a close view of an entrance are different jobs. Choose the lens and position for the task, then check night performance. The Axis image-quality guide explains exposure and motion-blur trade-offs; follow your own camera’s setup instructions.
Run the night-time comparison
- Use the intended mounting position, lens and recording settings.
- Check the hours with the least available light, including any lights that switch off.
- Have a person move through the required view at a normal pace. Review clothing detail and the detail you need for the task.
- Compare playback and an exported clip, not just the live preview.
- If the camera supports alternative modes, compare those modes under the same conditions.
- Check how added lighting affects nearby windows, reflective surfaces and shared areas.
Recording, power and recorder compatibility
Check whether the camera and recorder support the intended stream, codec and recording mode. Estimate capacity from the selected bitrate and daily hours using the storage calculator. Include the power required by lighting and a charging plan for battery or solar models.
For a mixed system, verify the needed recording and event functions on the selected camera and recorder rather than assuming that an interoperability label covers every function.
For the wider choice between illumination types, use the night-mode guide or IR and white-light comparison. Discuss a colour night-view requirement with the position, available light and detail needed.
Full color versus infrared: purchasing questions
Full color can preserve clothing and vehicle colors when enough visible light reaches the scene. Infrared normally records monochrome video and may suit positions where visible illumination is unwanted. Choose per viewing task; one site can use both methods.
ColorVu is a manufacturer-specific name, not a generic specification or a QuarkView compatibility claim. Compare the exact sensor, lens, exposure, lighting, recorded motion and camera-to-recorder functions instead of treating a marketing label as proof of equivalent performance.
In complete darkness, color needs visible illumination. White light does not by itself establish reliable person or vehicle detection. Test movement, glare and exported playback at the intended distance; PoE describes power and data delivery, not night-image quality.