
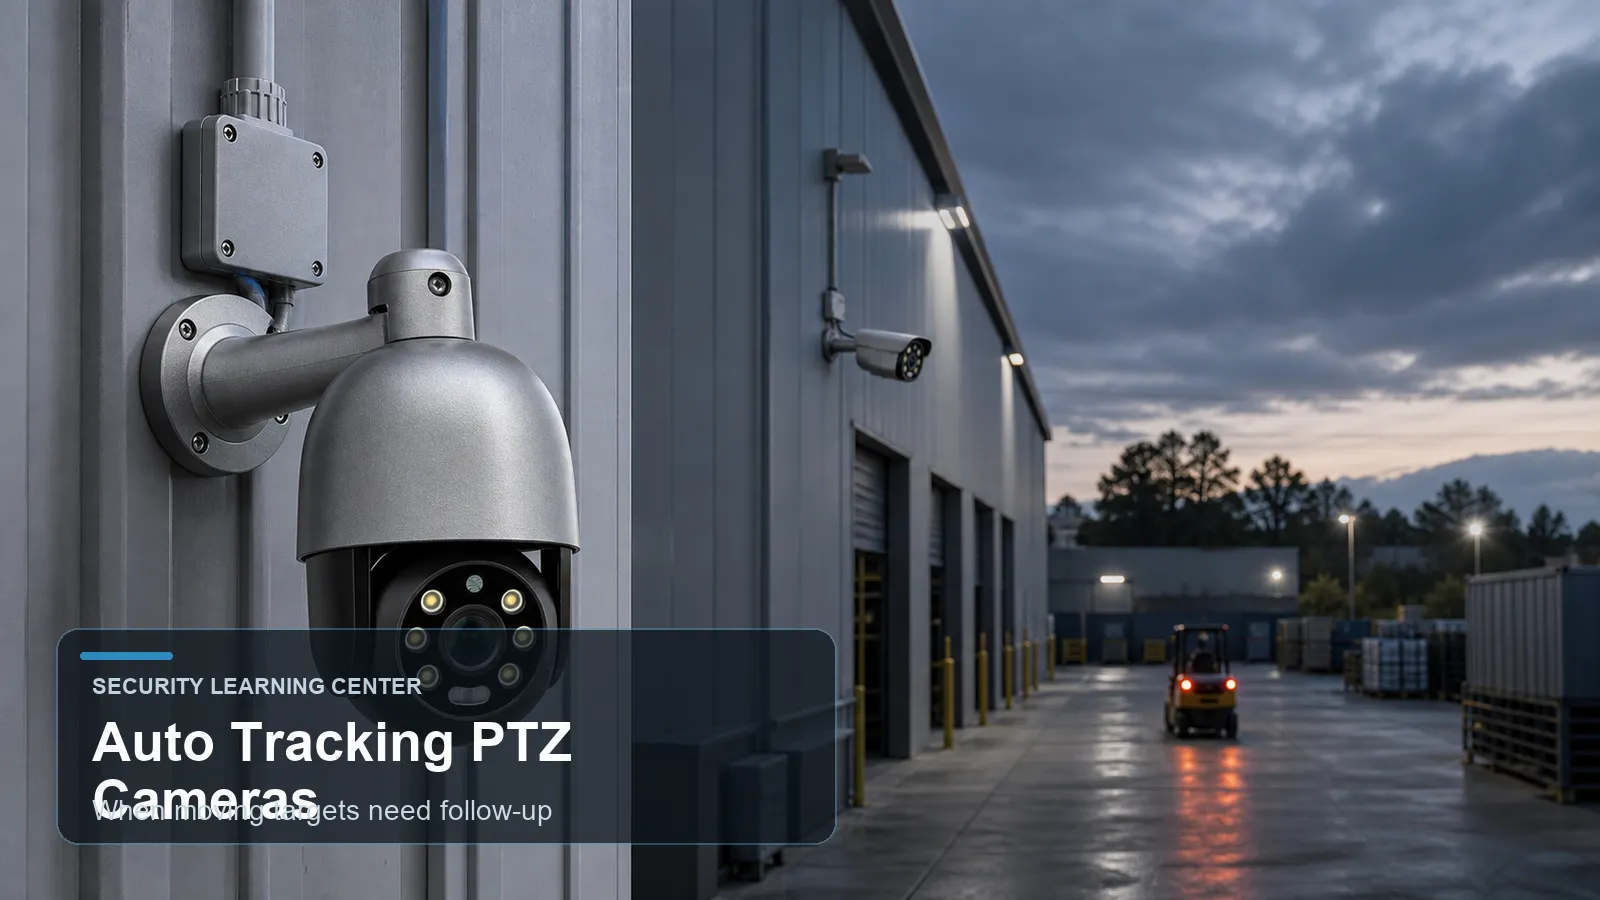
When automatic tracking is useful
Auto-tracking can help keep a selected person or vehicle in a movable view after an event starts. It is most useful when the subject has a clear route and the required detail is achievable from the mounting position. It cannot see through an obstruction, guarantee the correct subject is always selected or cover simultaneous events in every direction.
Retain a fixed overview for essential context. Separate a human or vehicle detection claim from a claim that the camera can follow that subject, and check whether tracking runs in the camera, recorder or another application. For lens, power and control selection, see the PTZ equipment guide.
View PTZ options and check a model against your tracking scene.
Define the tracking rules
- Target and trigger: name the subject type, starting view and event that should begin tracking. Record the permitted area and exclude irrelevant movement where the model supports it.
- Movement and zoom: set the available travel and zoom limits around the required detail and safe viewing area. Check privacy masking as the camera moves.
- Loss and return: define what should happen when the subject is hidden, leaves the area or is no longer detected. Record the available timeout and home or preset behavior.
- Control priority: establish whether an operator, patrol or another alarm can interrupt tracking and how automatic operation resumes.
Settings differ by product and firmware. For example, the AXIS Q6315-LE manual describes trigger areas, a return to the connected preset and guard-tour priority, and identifies limited movement and unobstructed scenes as suitable conditions. Those instructions apply to that equipment; use the selected model's current manual for its controls.
Scene trials and the evidence to retain
Test before accepting the configuration
Agree the required outcome for each trial before running it. Record model, firmware, application version, settings, lighting, route and timestamps. Repeat trials under representative conditions and log pass, fail or untested with the reason.
| Trial | Observe | Retain |
|---|---|---|
| One subject crosses | Trigger, framing, detail and end of the track. | Full clip with entry and exit times. |
| Subject passes an obstruction | Loss, any reacquisition and return behavior. | Clip showing the hidden interval and outcome. |
| Two subjects cross | Which subject is followed and whether it switches. | PTZ and fixed overview recordings. |
| Movement near an excluded area | Unwanted starts and behavior at the boundary. | Area settings and matching event clips. |
| Night movement and headlights | Detection, focus, motion detail and glare. | Recorded video at normal operating settings. |
| Tracking ends or an operator takes over | Control priority, return position and resumption. | Timed control log and continuous clip. |
Record unsuccessful trials as well as successful ones. A single demonstration does not establish a tracking success rate. Recheck affected scenes after changes to firmware, mounting, lighting or tracking settings.
Recorder checks and handover
Verify saved evidence separately
Replay and export the trial clips from the recorder the site will use. Check timestamps, gaps, subject detail and the overview channel. If event search or metadata is required, verify that it arrives at the recorder and remains available in the intended review workflow. PTZ control, live tracking, video recording and event integration are separate acceptance checks.
Keep the final settings, trial results, unresolved limits and the person responsible for review. The trial list above is a proposed method; results depend on the tested equipment and scene.
Describe the scene for a model review
Share target types, route distances, expected activity, obstructions, lighting, the recorder model and required return behavior. Avoid sending private footage through the enquiry form. Ask about a suitable tracking configuration and agree how representative samples will be assessed.