
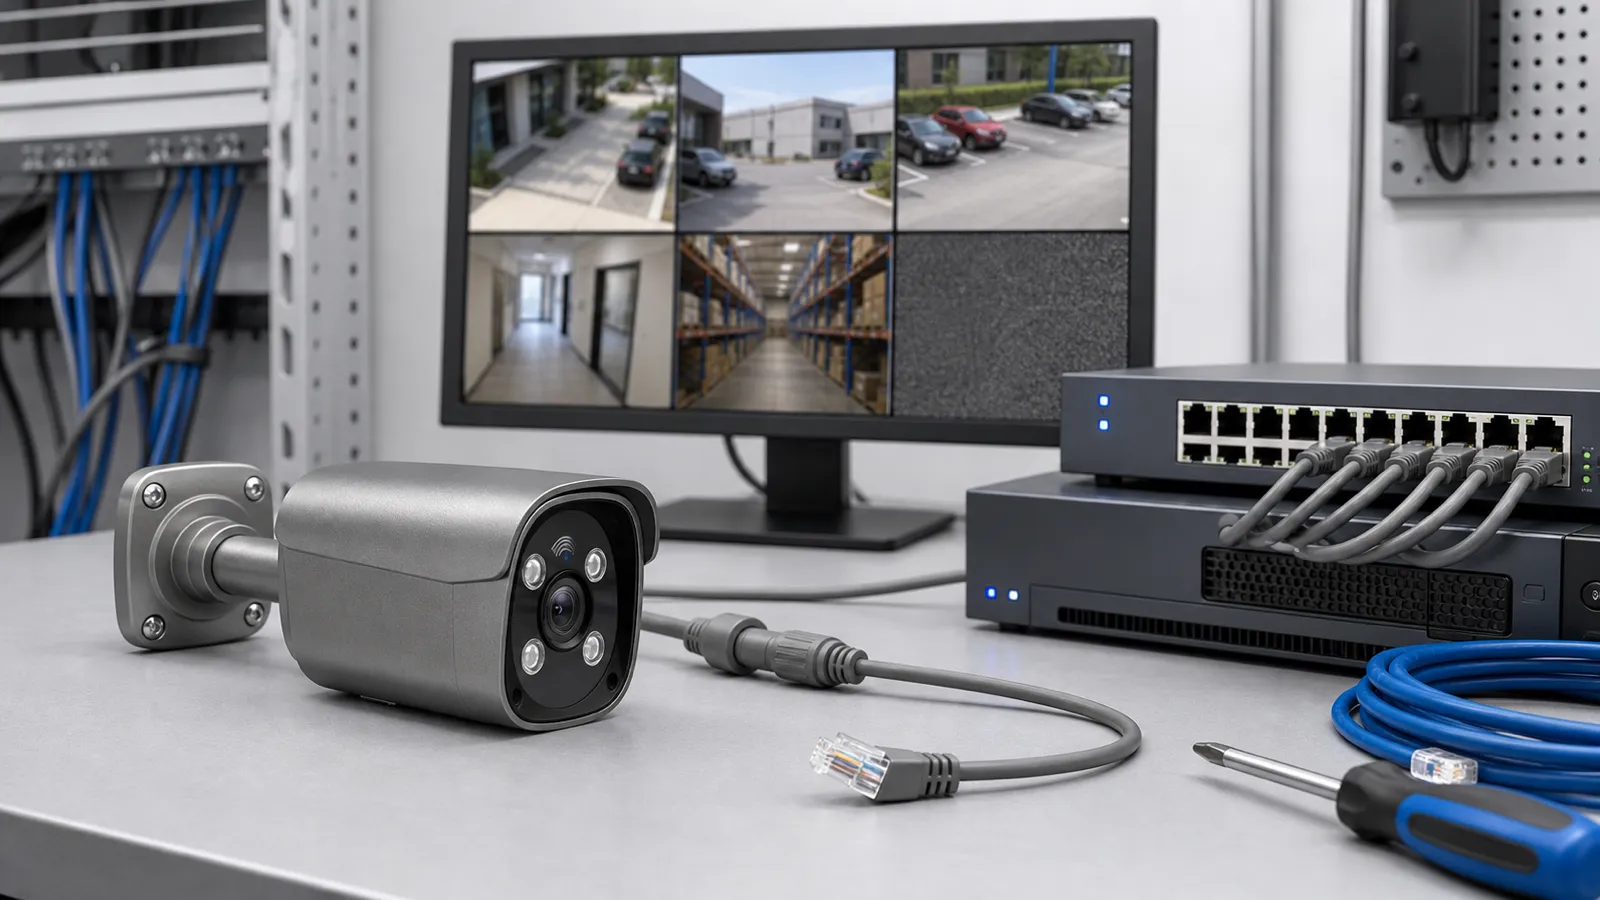
Save the error and time, count affected channels, and check whether the recorder menu is visible. Keep original settings and change one item at a time.
Choose the symptom
PoE camera no video or disconnecting
One camera is affected
- Save the error and time. Check the cable connection and the port's separate link and PoE status. A lit indicator alone does not prove that video reaches the recorder.
- During an agreed service break, compare a known working short cable and a compatible PoE port. Change one item at a time and label the original connection.
- If the fault follows the long cable, inspect connectors, termination and weather protection. If it follows the port, check status and power allocation. If it follows the camera, check its power requirements and local view. A successful swap narrows the affected path; it does not by itself prove a port or camera is damaged. Record the working and failing combinations.
- If local camera video works but the NVR channel does not, compare address, protocol, account permissions and supported stream settings.
Several or all cameras fail together
Identify the switch, uplink, power supply or recorder the affected channels share. Compare failure times with restart and port logs. One switch group failing points toward that group's shared path; all channels failing requires checks of the common supply, uplink and recorder. Use model maximum loads and cable losses when checking power, including night lighting.
If the recorder menu disappears but local camera views still work, investigate the recorder/display path first. Check the display input and connection according to the recorder instructions before replacing cameras.
Verify: restore the intended connections; check live view, a new recording and playback on every affected channel. For a night-only failure, repeat with night illumination active. Record the observation period and any recurrence; a reconnection alone does not establish long-term stability.
References: Reolink channel isolation and Axis power demand. Menu paths and electrical values belong to their equipment. See the power planning guide for matching supplies.
NVR not recording: check hard drive and schedule
Follow the storage result
Search a recent interval on the correct channel. Confirm date, time zone and recording filter before changing the disk.
| Observed result | Next check |
|---|---|
| No disk listed | Record HDD/NVR models and the error; compare supported disk and power requirements. A missing drive is not an instruction to format. Internal checks need an orderly shutdown, disconnected power and the model's installation instructions. |
| Disk listed with an error | Preserve useful footage and logs; distinguish drive, power, interface and compatibility faults with support. Repeated formatting does not identify the cause. |
| Disk full | Check the overwrite policy. Export important footage before enabling replacement of old recordings. |
| Storage appears usable | Check channel recording enable, mode and schedule. If continuous video exists but event clips do not, check detection, its active period and the recording action. |
Verify: note a short test interval and its time zone, record it in the intended mode and replay it locally. For event recording, trigger an agreed event and check its saved clip. Open an export if required. If local playback succeeds but app playback fails, check the retrieval device and remote path before altering a working disk.
Before formatting: formatting erases recordings. Export and verify important footage first. Initialize only a supported disk when required or after support identifies the recovery step. If unreadable footage must be preserved, stop writing to the disk and seek support.
References: Reolink recording checks, Dahua playback checks and formatting and data loss. Follow your recorder's controls. For capacity planning, use the storage calculator.
Night blur and IR reflection
Compare a still subject with movement
Keep two clips from the same night scene: stationary and moving subjects. White haze or bright patches suggest checking the outer cover and nearby walls, soffits or glass for reflected IR. Inspect water, dust and spider webs; clean only as instructed and do not open a sealed housing.
If the view remains hazy, adjust it away from reflective surfaces while retaining the required coverage. If the scene is sharp but movement blurs, compare supported exposure settings and available light; a brighter still frame can conceal lost movement detail. If local video is clear but another view looks poor, compare the selected viewing stream and client before changing camera exposure.
When the image stays dark or daytime colour looks wrong
Check supported day/night and illumination settings in local view, then compare a new recording. If the camera reports illumination status, note whether it changes with night mode. Use the image and reported status together; lamp appearance alone does not establish a fault.
If daytime video also has an unusual pink or red tint, send support a day/night comparison and current settings. The day/night filter may need attention. Keep the housing closed and let support confirm the next step for the model.
Verify: compare recorded stationary and moving clips at the intended distance under the original conditions. Keep the original settings; change one supported illumination or exposure setting at a time. Persistent internal moisture requires service attention.
Technical reference: Axis image-quality troubleshooting; cover, cleaning and lighting controls vary by model. Use the night-mode selection guide for choosing lighting rather than diagnosing a fault.
Keep a useful recovery record
After a change, verify live view, a new recording and playback. Before a reset or firmware update, preserve important footage and configuration, confirm the exact hardware and update procedure, and agree a service window. Send model/version, affected channels, error time and test results through the private support route; keep passwords and identifiable footage out of public screenshots.